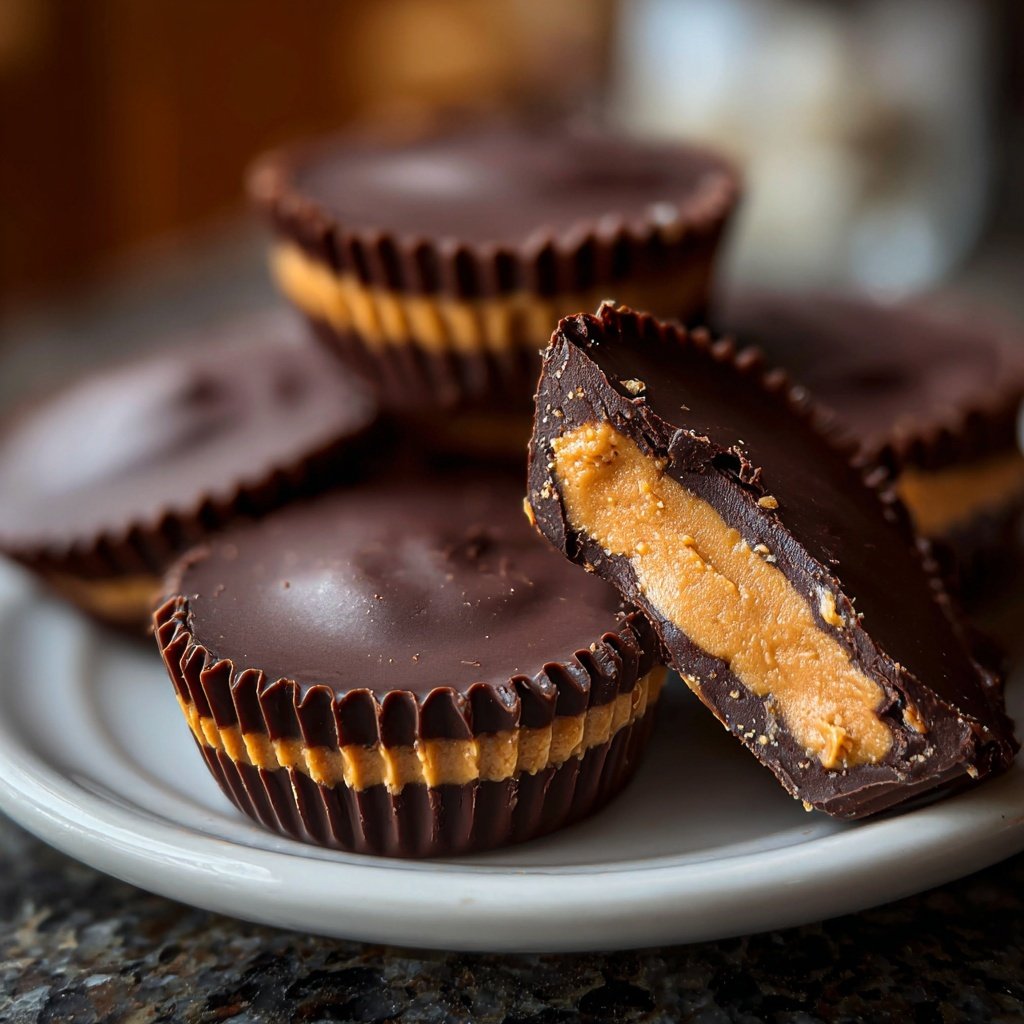
Homemade Peanut Butter Cups with Dark Cocoa
Highlighted under: Cozy Cooking
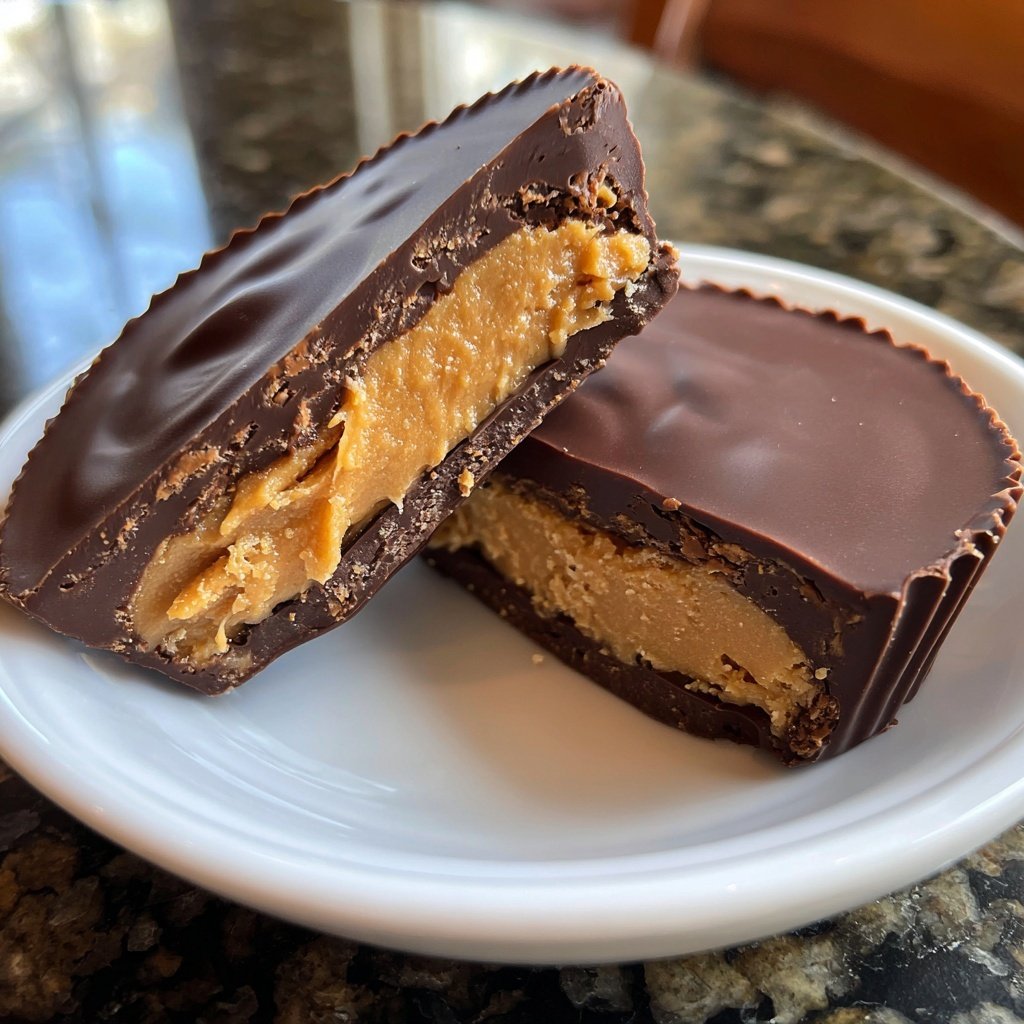
I absolutely love making these Homemade Peanut Butter Cups with Dark Cocoa because they combine two of my favorite treats into one delicious bite. The rich, dark chocolate paired with the creamy peanut butter filling creates a delightful contrast that’s hard to resist. Every time I make them, it feels like I'm crafting a little piece of heaven. Plus, they’re easier to make than you might think, and I can’t wait for you to try this simple yet satisfying recipe that’s perfect for any chocolate lover.
Making these Homemade Peanut Butter Cups with Dark Cocoa was such a gratifying experience for me. I experimented with different ratios of peanut butter to chocolate, and I found that using dark cocoa really intensifies the flavor. The first time I made them, I was surprised at how easy the process was, yet the result felt so gourmet and special.
One tip I’ve discovered is to let the chocolate cool slightly before filling the cups with peanut butter. This helps to achieve the perfect layer and avoids mixing the two components. Each bite reveals a luscious explosion of flavor that leaves my family asking for seconds!
Why You'll Love These Cups
- Decadent dark chocolate balanced with creamy peanut butter
- Simple to make with just a few ingredients
- Perfect for satisfying sweet cravings or gifting
Understanding the Ingredients
The foundation of these Homemade Peanut Butter Cups is the rich dark cocoa powder. This ingredient not only provides depth of flavor but also contributes to the beautiful dark color and slight bitterness that perfectly complements the sweetness of the maple syrup and the creaminess of the peanut butter. Choosing a high-quality cocoa powder will elevate the taste, giving you a more luxurious texture and a deeper chocolate flavor that you won’t want to skip.
Coconut oil is the magic ingredient that helps in achieving the right consistency for the chocolate layer. It solidifies at cooler temperatures, allowing the cups to hold their shape after being chilled. If you're looking for a substitute, refined olive oil can work but may impact the flavor slightly. Keeping the coconut oil melted until you're ready to mix is crucial; otherwise, it may harden and cause clumping in your chocolate layer.
Perfecting the Process
Setting the chocolate base in the freezer for about 10 minutes is crucial for getting the right texture before adding the peanut butter filling. If you let it sit longer just to be safe, make sure to check that it’s fully set but not frozen solid. If your filling tends to be too runny, consider chilling the peanut butter mixture briefly to help it firm up and make it easier to work with when spooning into the cups.
When filling the cups, aim for a height of about three-quarters full. This allows enough chocolate on top to encase the peanut butter without overflowing and creating a mess. If you find that your filling is too high, simply remove a bit before topping it with the remaining chocolate mixture. This will ensure better balance between the chocolate and peanut butter flavors.
Ingredients
Gather your ingredients before starting to make the process seamless and enjoyable!
For the Cups
- 1 cup dark cocoa powder
- 1/2 cup coconut oil, melted
- 1/4 cup maple syrup
- 1/4 tsp sea salt
For the Filling
- 1 cup creamy peanut butter
- 1/4 cup powdered sugar
- 1/2 tsp vanilla extract
Make sure to select high-quality cocoa for the best flavor!
Instructions
Follow these steps carefully to achieve the best results!
Prepare Cupcake Liners
Line a muffin tin with cupcake liners. This will make it easier to remove the cups once they are set.
Make the Chocolate Base
In a bowl, mix dark cocoa powder, melted coconut oil, maple syrup, and sea salt until smooth. Spoon a layer into each liner.
Set the Base
Place the muffin tin in the freezer for about 10 minutes to set the chocolate layer.
Prepare the Peanut Butter Filling
In another bowl, combine peanut butter, powdered sugar, and vanilla extract until well mixed.
Fill the Cups
Once the chocolate base is set, remove it from the freezer. Spoon the peanut butter mixture into each liner, filling them about three-quarters full.
Top with Chocolate
Cover the peanut butter filling with the remaining chocolate mixture. Place back in the freezer to set for another 10 minutes.
Serve and Enjoy
Once set, remove the cups from the muffin tin and peel off the liners. Enjoy your delicious homemade peanut butter cups!
Feel free to experiment with different nut butters or sweeteners!
Pro Tips
- For a richer flavor, consider adding a pinch of espresso powder to the chocolate mixture.
Storage Tips
These Homemade Peanut Butter Cups can be stored in an airtight container in the refrigerator for about a week. However, if you're looking to extend their shelf life, freezing them is a great option. Simply place them in a freezer-safe container, separating each layer with parchment paper. They can last up to 3 months in the freezer, making them a perfect make-ahead treat for unexpected guests or late-night cravings.
To enjoy the frozen cups, simply remove from the freezer and let them sit at room temperature for about 10-15 minutes. This will slightly soften the chocolate and filling, enhancing the overall taste and texture experience. Beware of overheating them; too much exposure to warmth can make the texture too gooey, so serve them shortly after removing from the cold.
Serving Suggestions
These peanut butter cups make an excellent treat on their own, but you can also elevate your presentation by drizzling melted chocolate or melted peanut butter on top after they set. This not only enhances the visual appeal but adds an extra layer of flavor. For a fun twist, consider sprinkling crushed nuts or sea salt on top before they set for a delightful crunch that pairs beautifully with the smooth fillings.
For a more playful serving experience, consider arranging the cups on a dessert board alongside fresh fruits, like banana slices or strawberries. The combinations of flavors will be a big hit, offering a balance of sweet and fruity freshness that highlights the richness of the cups. This setup is perfect for gatherings, treat platters, or special occasions.
Questions About Recipes
→ Can I use white chocolate instead of dark?
Yes, you can substitute white chocolate, but keep in mind that it will alter the flavor.
→ How should I store the peanut butter cups?
Store them in an airtight container in the refrigerator for up to two weeks.
→ Can I use natural peanut butter?
Absolutely! Just make sure it’s well mixed and creamy for the best results.
→ Are these cups vegan?
Yes, if you use a vegan chocolate option and ensure your peanut butter is also vegan.
Homemade Peanut Butter Cups with Dark Cocoa
Created by: Isla Weatherford
Recipe Type: Cozy Cooking
Skill Level: Intermediate
Final Quantity: 12 cups
What You'll Need
For the Cups
- 1 cup dark cocoa powder
- 1/2 cup coconut oil, melted
- 1/4 cup maple syrup
- 1/4 tsp sea salt
For the Filling
- 1 cup creamy peanut butter
- 1/4 cup powdered sugar
- 1/2 tsp vanilla extract
How-To Steps
Line a muffin tin with cupcake liners. This will make it easier to remove the cups once they are set.
In a bowl, mix dark cocoa powder, melted coconut oil, maple syrup, and sea salt until smooth. Spoon a layer into each liner.
Place the muffin tin in the freezer for about 10 minutes to set the chocolate layer.
In another bowl, combine peanut butter, powdered sugar, and vanilla extract until well mixed.
Once the chocolate base is set, remove it from the freezer. Spoon the peanut butter mixture into each liner, filling them about three-quarters full.
Cover the peanut butter filling with the remaining chocolate mixture. Place back in the freezer to set for another 10 minutes.
Once set, remove the cups from the muffin tin and peel off the liners. Enjoy your delicious homemade peanut butter cups!
Extra Tips
- For a richer flavor, consider adding a pinch of espresso powder to the chocolate mixture.
Nutritional Breakdown (Per Serving)
- Calories: 160 kcal
- Total Fat: 12g
- Saturated Fat: 6g
- Cholesterol: 0mg
- Sodium: 75mg
- Total Carbohydrates: 12g
- Dietary Fiber: 2g
- Sugars: 8g
- Protein: 4g